1. Preparation
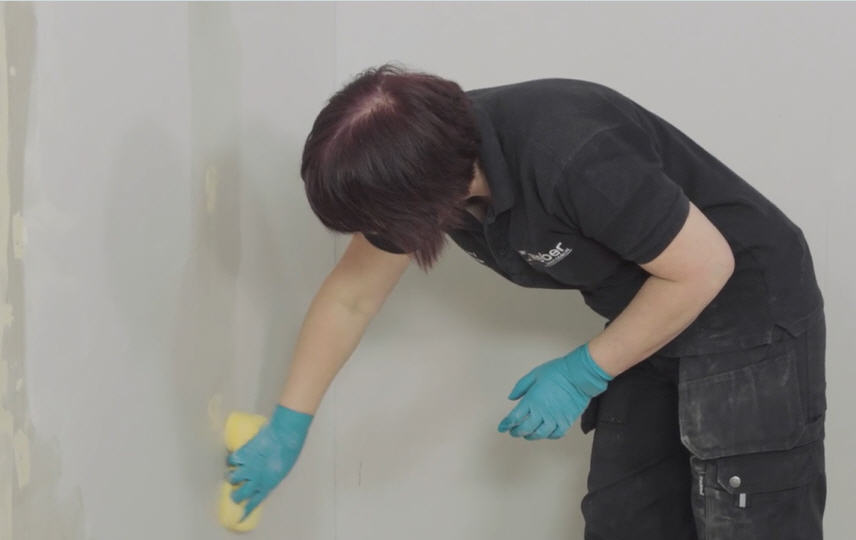
Before you get started you need to check the condition of the wall surface (substrate). Ensure that the wall to be tiled is clean, completely dry, sound and free from dust, grease or any other contamination. Any weak/loose surface material or layers should be removed.
If you are considering tiling over existing tiles, then there are a few things you'll need to keep in mind. Read our step by step guide on tiling over tiles
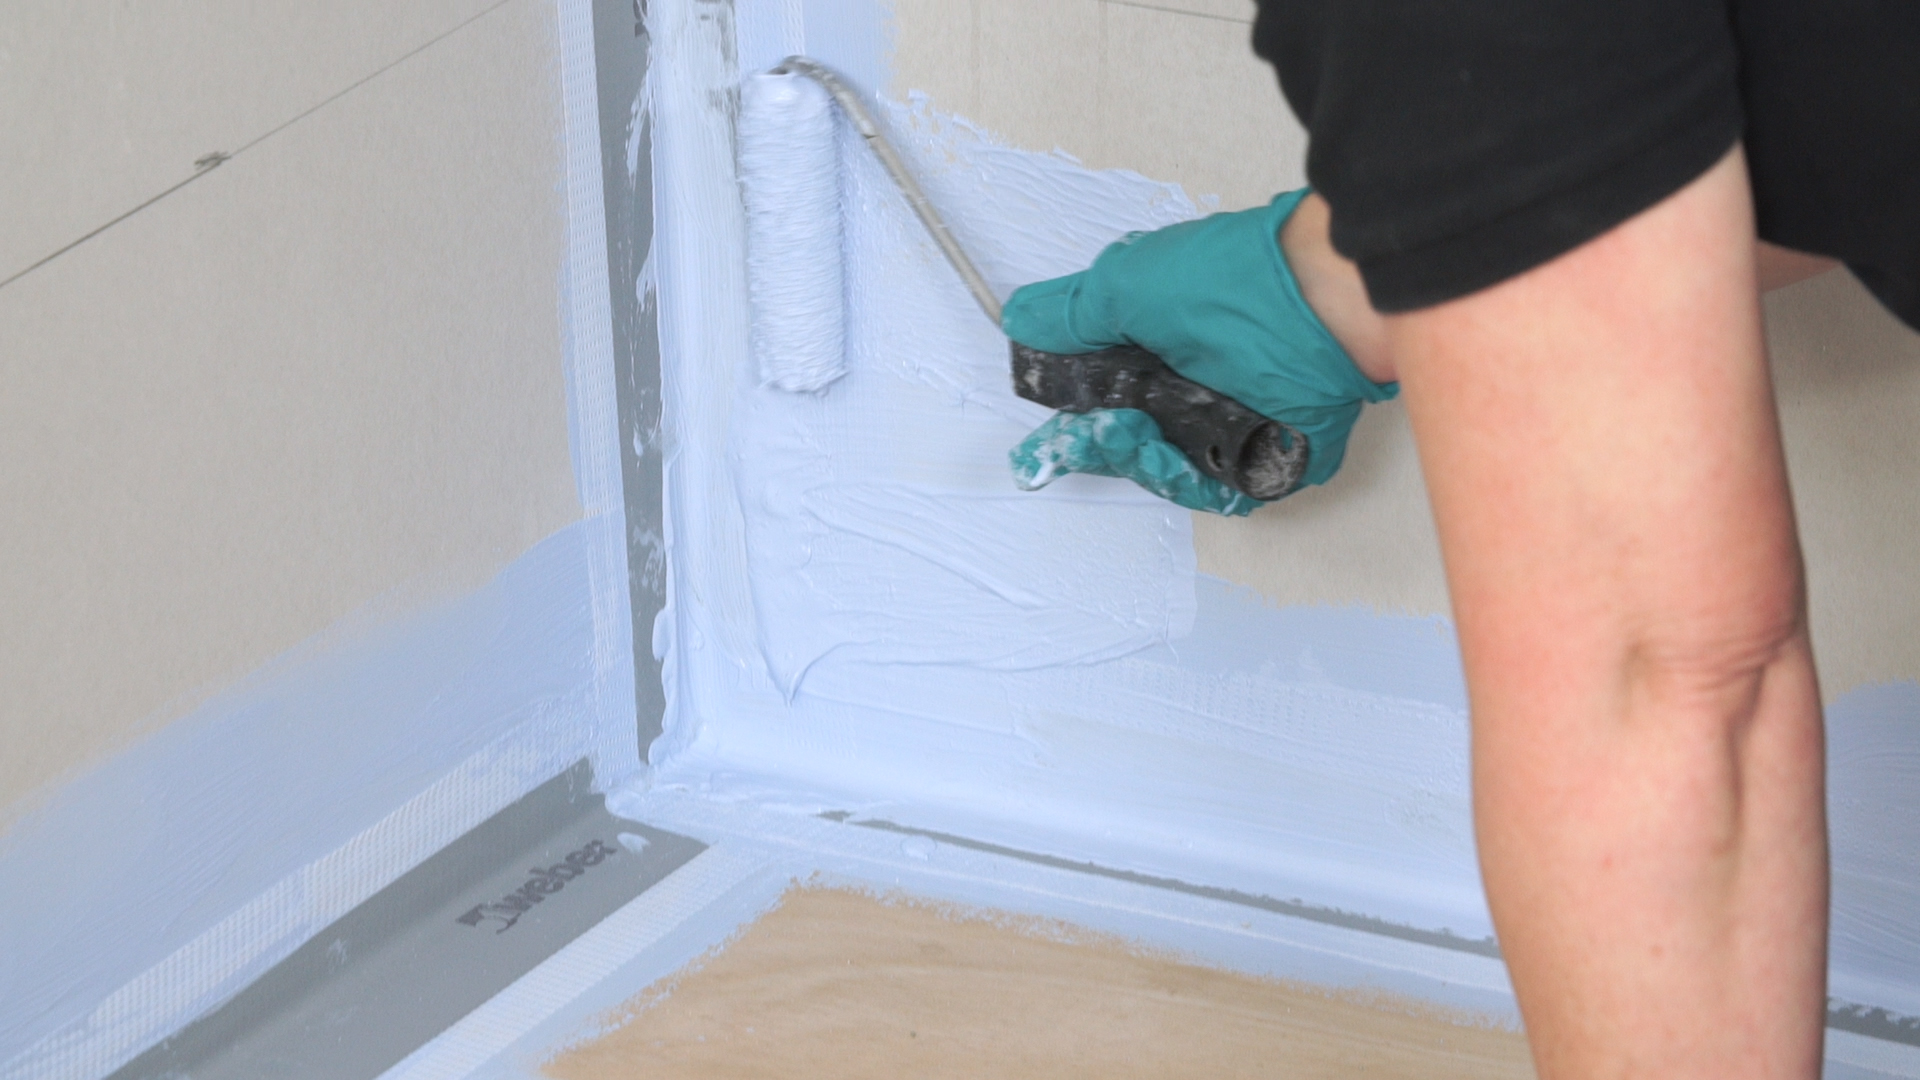
2. Protect water sensitive substrates
Before tiling surfaces that are highly exposed to water such as shower walls and wet rooms it is essential to use a waterproof tanking system to protect substrates such as wood and plasterboard from water ingress. webersys protect ready-mixed tanking system is ideal for this type of installation.
Once webersys protect has been applied and is dry, temporary wooden batons will need to be installed if you are fixing larger and heavier tiles to find the level and support them whilst the adhesive sets. Measure your wall and mark the centre point. Then draw a vertical level line through this centre point using a spirit level. Mark up the position that you need to start tiling from and use screws to secure the batons into place whilst using your spirit level to check that your batons are still level.
Measure your tile and mark out the centre point on the tile and line this up with your vertical line on the wall and baton. Then mark out the edges of the tile onto the wall and copy this procedure across the wall.
Porous or dusty surfaces should be primed using the correct dilution of weber PR360 and allowed to dry before tiling.
3. Select tile adhesive
Depending on the type of tiles used, the wall substrate, and its surrounding environment, it's vital you choose the right tile adhesive for the job.
Weber's powder tile adhesives are cement-based and only require the addition of water to get started. Suitable for both wall and floor tiles, our high-performance powder adhesives can be used for both internal and external tiling projects.
For tile size alone Weber recommends:-
- Small tiles (<300mm) – weberset plus
- Large tiles (300-900mm) – weberset SPF or weberset rapid SPF
- XL tiles (900mm+) – weberset plus and weber AD250
For heavier tiles and non-absorbent tiles such as porcelain, glass and slate a powder adhesive should always be used. See the chart below for information on tile weights to make the right choice of adhesive. Details can be found on our website, the product bag or data sheet.
|
Tile weight information |
|
|
Porcelain-mosaics, Ceramic-mosaic, Glass mosaic |
7-11 kg/m2 |
|
Ceramics |
9-21 kg/m2 |
|
Porcelain |
19-26 kg/m2 |
|
Stone 10mm thick |
30 kg/m2 |
|
Stone 20mm thick |
60 kg/m2 |
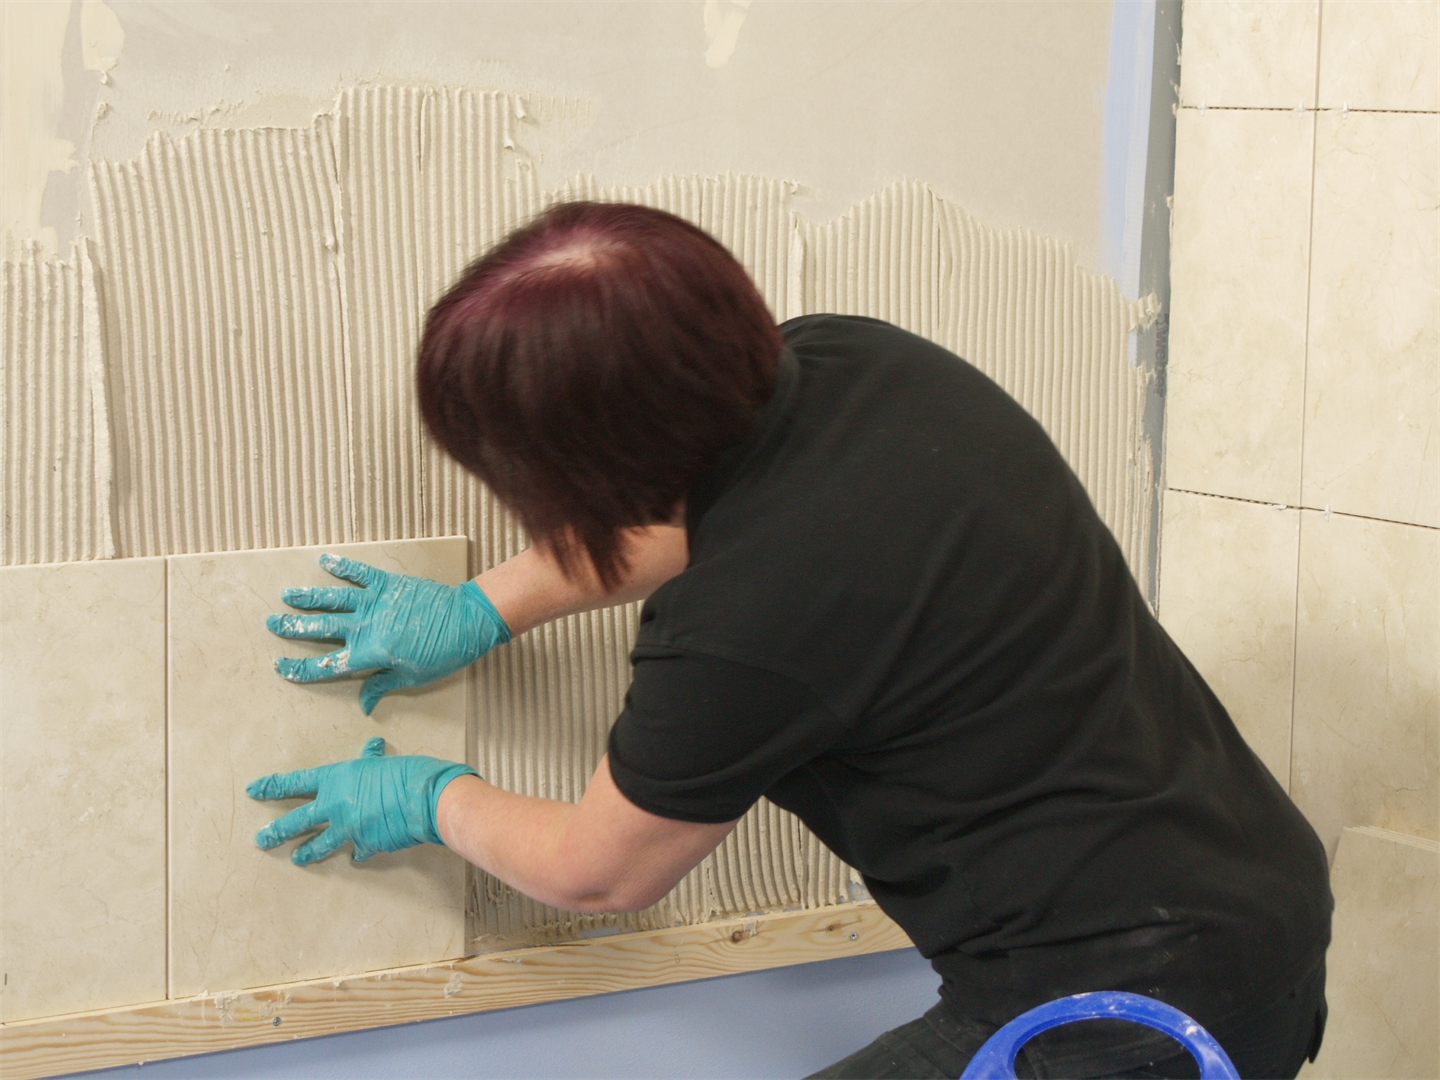
4. Application
Once mixed according to the datasheet instructions apply the adhesive onto the substrate using a suitable notched trowel, covering up to 1m² at a time (or no more than can be tiled within 10 minutes). Tiles with studded backs may also need a thin coat of adhesive too.
Find the tile that was marked at the centre point and line it up with your vertical line on the wall and baton. This should be your starting point. The tiles should be firmly bedded with a slight twisting or sliding action, leaving at least 2mm gaps for grout joints, this can be achieved by using a standard tile spacer.
It is good practice to occasionally remove a tile to ensure that the appropriate contact with the wall is being achieved. On walls subject to wetting the adhesive bed should be free from voids.
5. Grouting and sealing edges
Leave for at least 2 hours before grouting. Longer is required at less than 5°C or when tiling onto impervious or sealed surfaces.
Before grouting ensure that the adhesive has set, the tiles are firm and that the joints are clear of adhesive and free from contamination. Before grouting and to prevent staining, most natural stones will need sealing with either a solvent or water-based impregnator.
weberjoint premium wall and floor tile grout is suitable for all tile types and for joint widths up to 20mm. It's PURE CLEAN technology means that it is more resistant to stains and dirt and is available in a range of 18 colours with matching silicones.
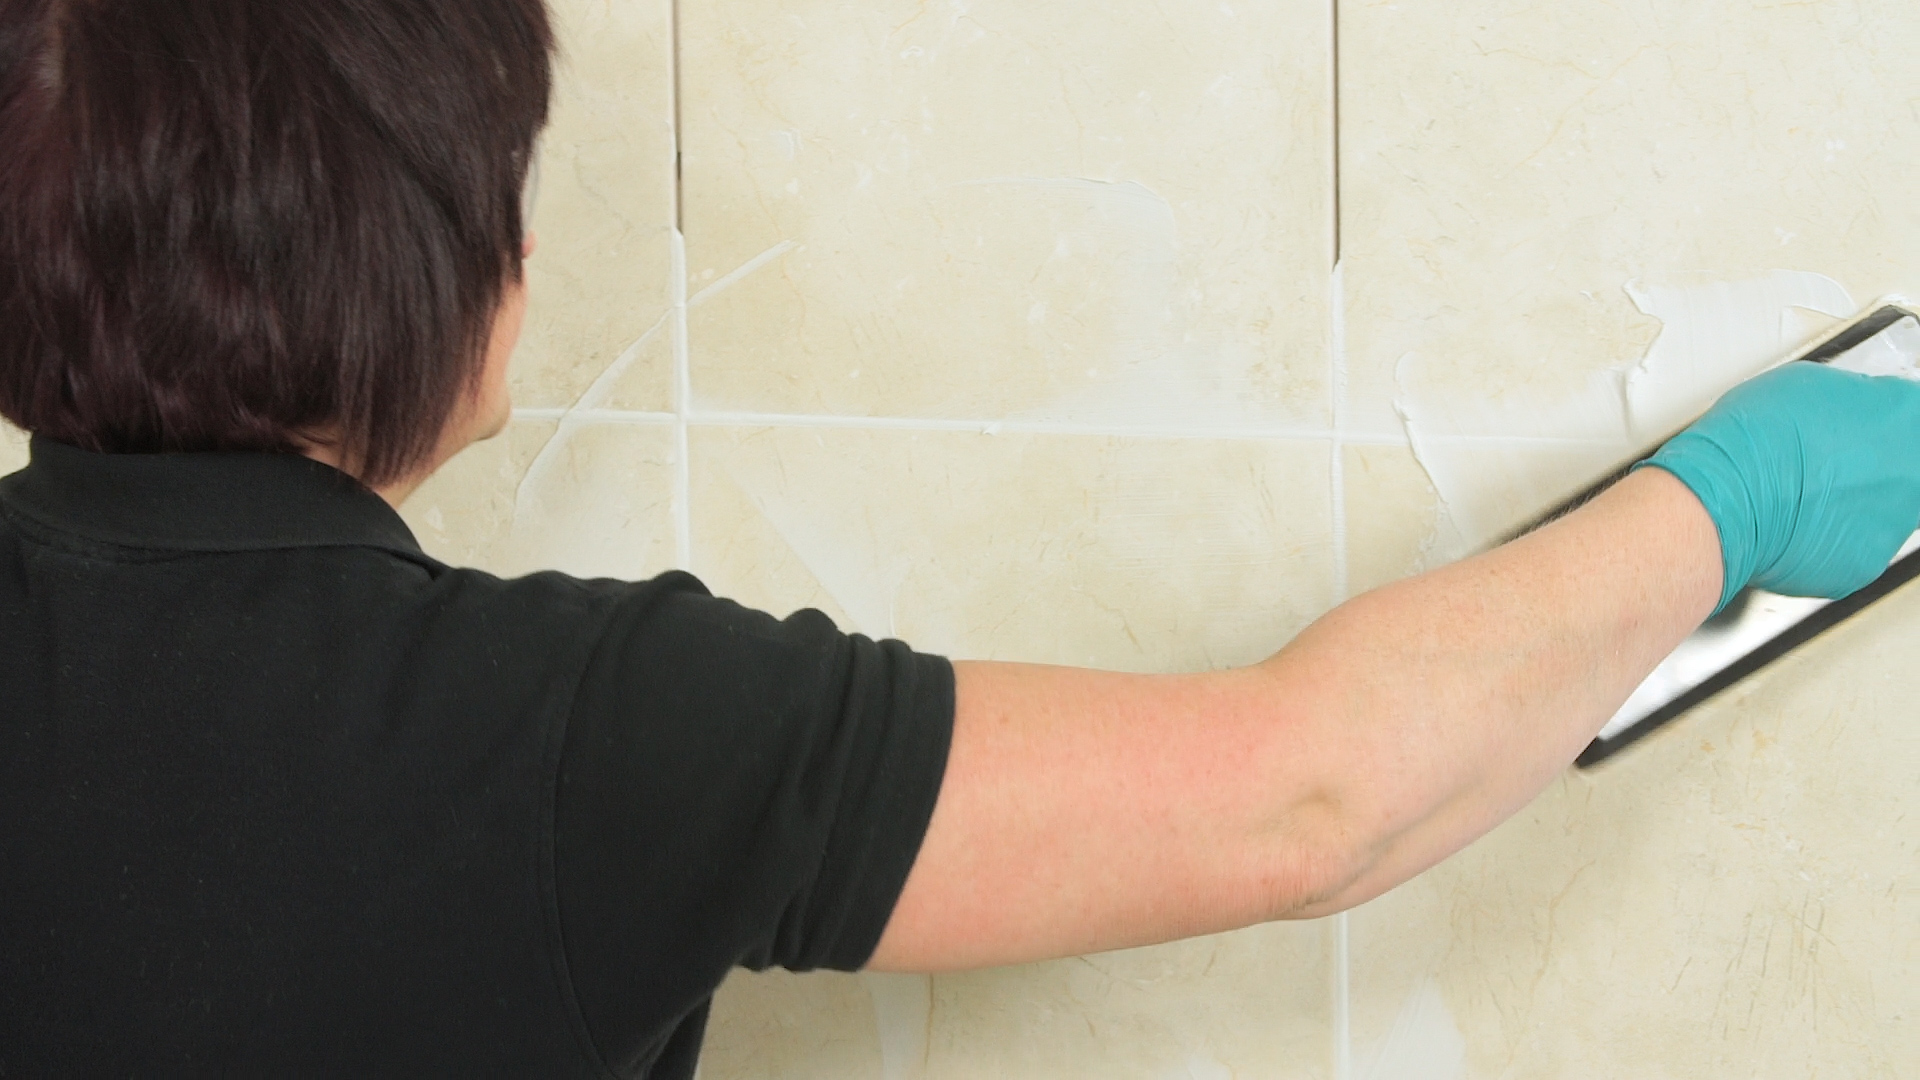
After mixing, use a squeegee or a rubber float to apply the grout to a small area at a time. Completely fill the joints leaving no voids. Excess grout should be removed immediately using a rubber float held at 90° to the tiles. This should be moved diagonally across the tiles to prevent removal of grout within the joints.
After approximately 25-35 minutes when the grout has become firm in the joints, the tiles should be cleaned with a damp clean emulsifying pad (do not use excessive water). This should be used in a circular motion to loosen the grout residue. The tiles should now be wiped with a clean damp sponge until all residue is removed. For best results lightly run a clean damp sponge along the joints to finish them.
When dry, polish the tiles with a clean, dry cloth. Tools and equipment should be washed in water immediately after use.
Use silicone sealant such as weberjoint silicone to seal the edges. Carefully cut the tip of the cartridge and then cut the nozzle at a 45° angle and fix to a sealant gun before applying evenly into the joint. weberjoint silicone is waterproof, highly flexible, has excellent bond strength and is colour matched to weberjoint premium wall and floor tile grout.